Create user and manage groups
In Aida, the group is a grouping of actions that the user associated with that group can perform within the system. Basically the types of action that can be associated with a group are:
- View
- Add/Edit
- Delete
To define and manage groups in Aida, it is sufficient to use the Users and Groups-> Group Manager menu
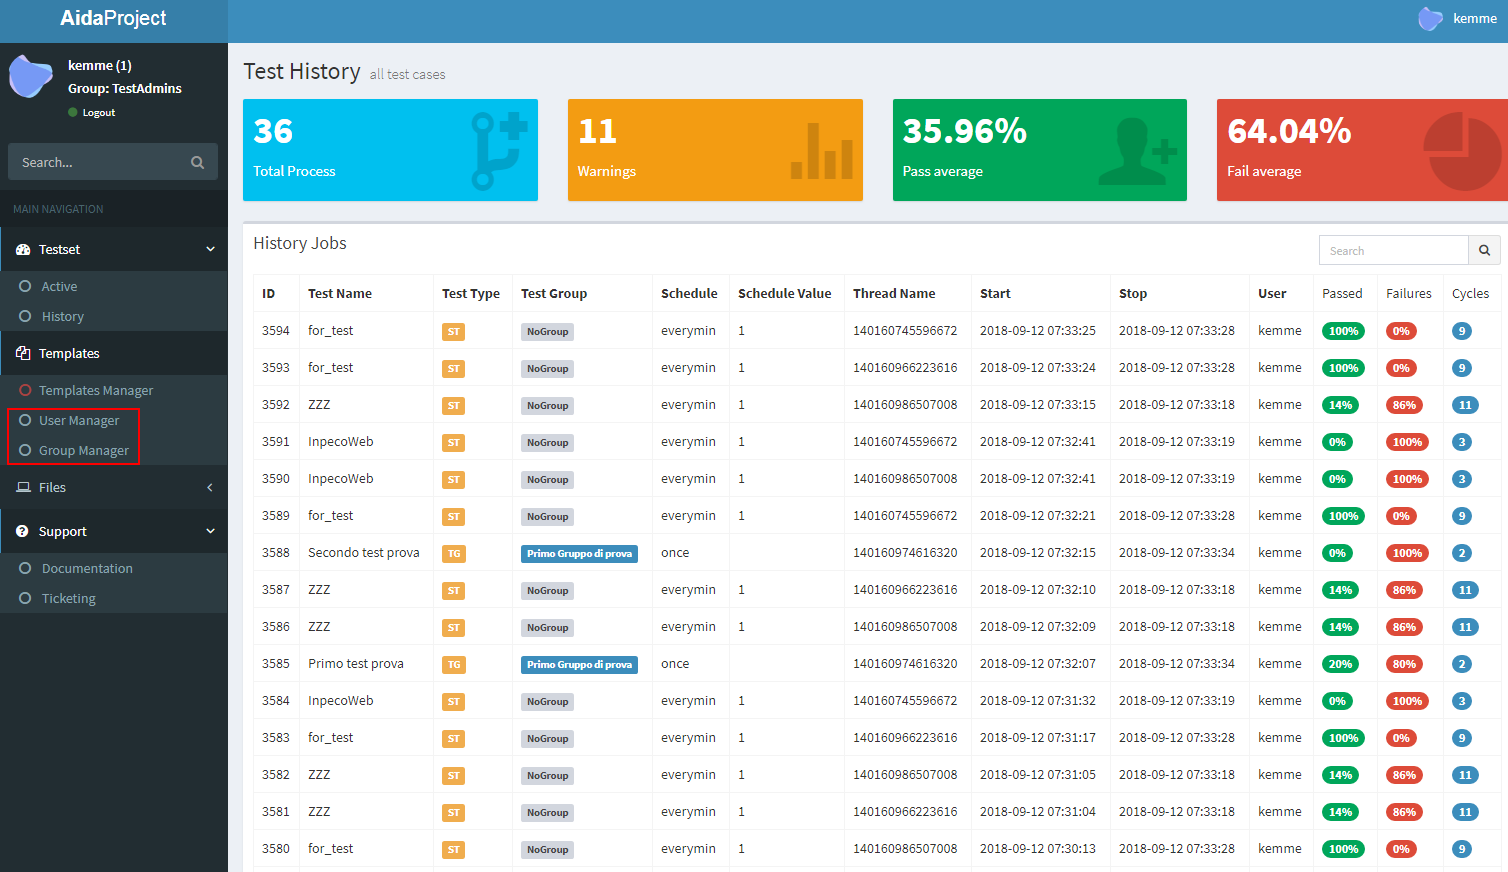
Once you have access to group management from the main menu, the administration screen will show the list of active groups in the system:

Create a new group
To create a new group of users is sufficient, from the group management screen just opened select the “ADD GROUP” button, the mask to add a new group will appear:
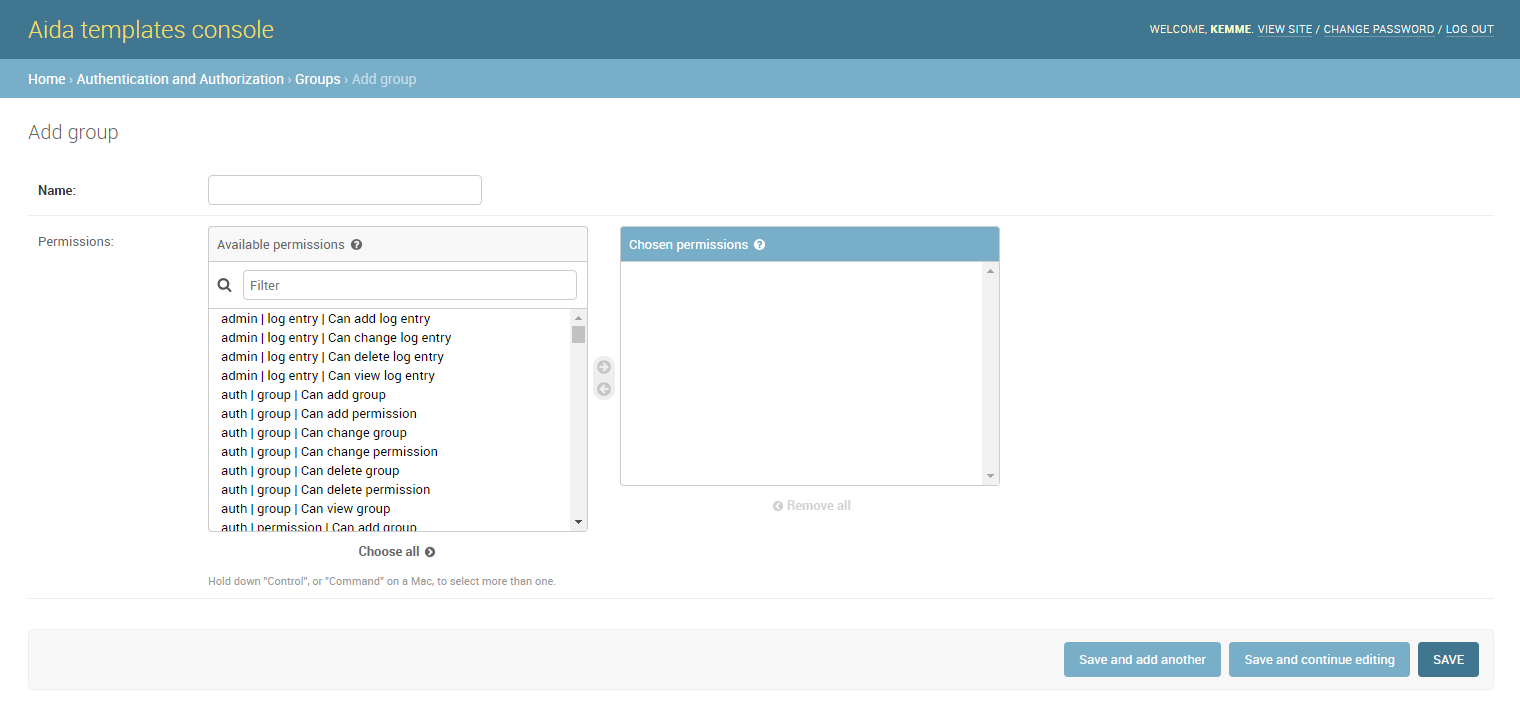
- Name :Name that you want give to the new group (unique)
- Available permissions :Permissions that can be provided or denied on the various system tables
- Chosen permission :Permits that have been assigned to the group we are creating
Note
Within all Aida administration forms, there are three buttons to confirm the changes you want to make:
- Save and add another :It saves the data entered, and proposes the same cleaned mask in order to quickly perform a new data entry. (in some masks, once this option is selected, the system will re-propose some pre-filled fields to guarantee insertion speed)
- Save and continue editing :Save the entered data and re-propose the mask with the same data inside the various fields present before the saving
- SAVE :Save the entered data and return to the list of options previous to the current mask.
Manage an existing group
To go to manage an existing group, and sufficient, from the main group management page, select the group on which you intend to work, the following screen will appear:
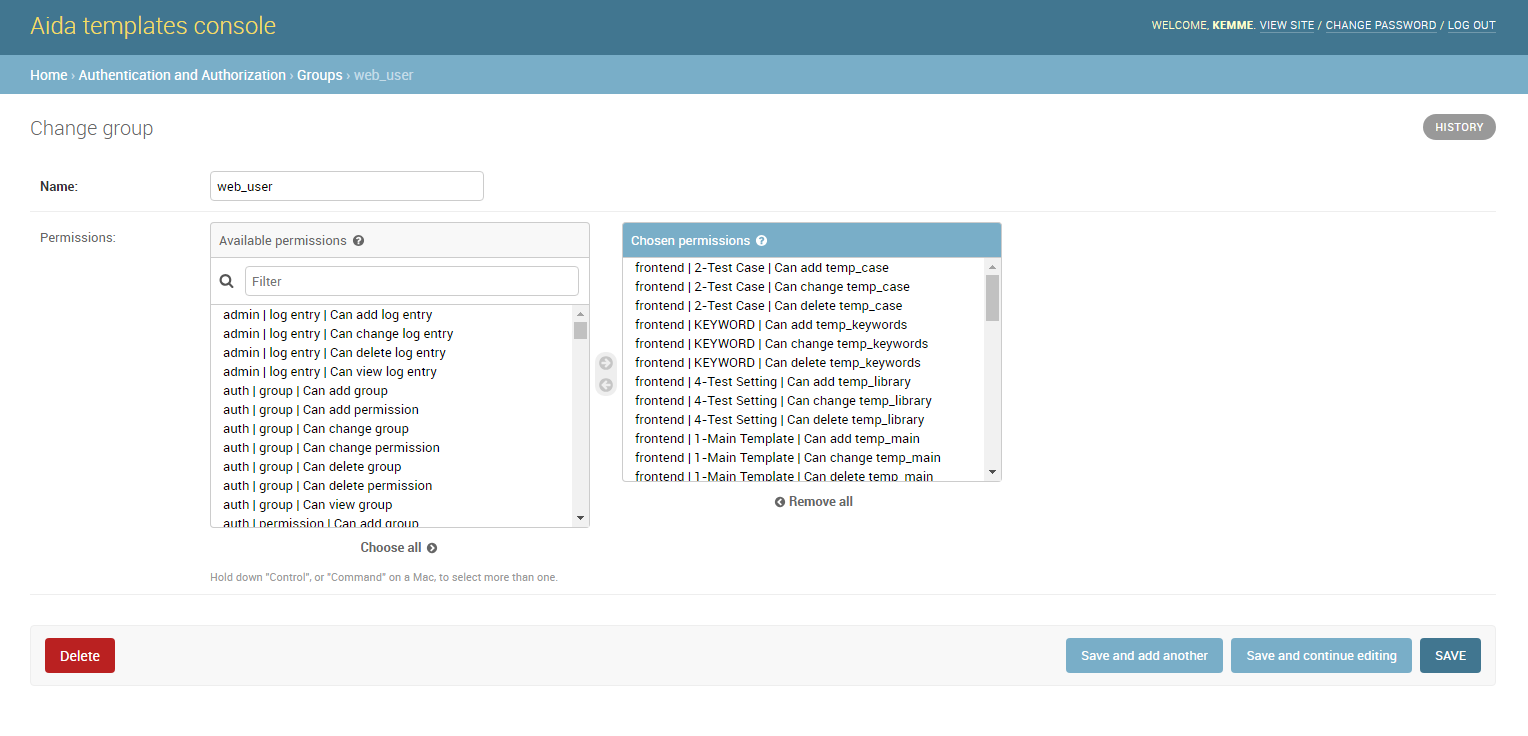
The mask is similar to that for adding a new group seen before, with the difference that in the Chosen permissions section there are the previously assigned permissions.
Note
In all the editing templates of Aida there is the possibility to see the history of the changes made on the data that are being managed through the use of the ** HISTORY ** button located at the top right.
Create and manage user
Once the aida group (s) have been defined, it is possible to create one or more users to associate with that group through the User Management function from the Aida homescreen.
Create a new user
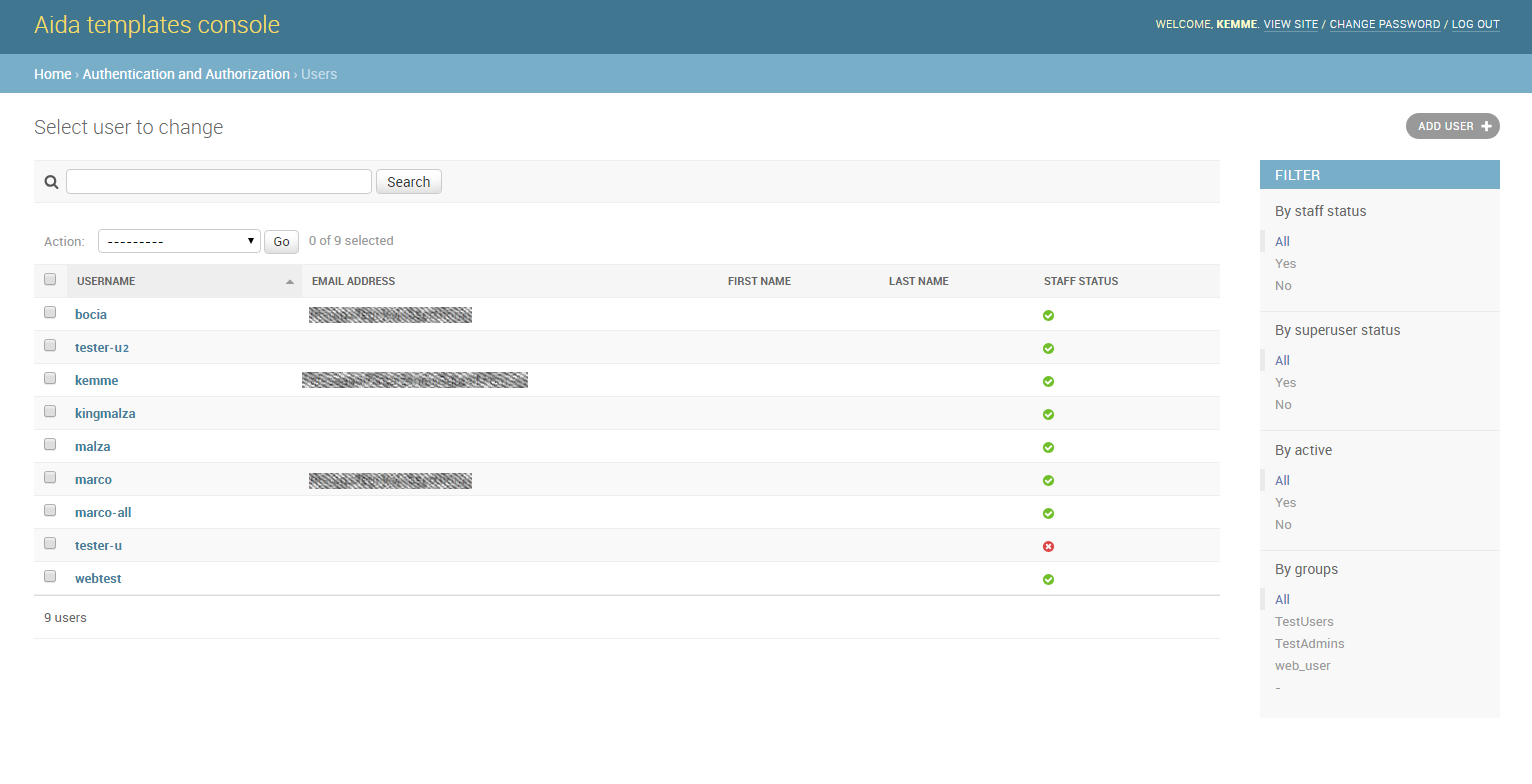
To create a new user in Aida, from the main user management mask, select the ** ADD USER + ** button
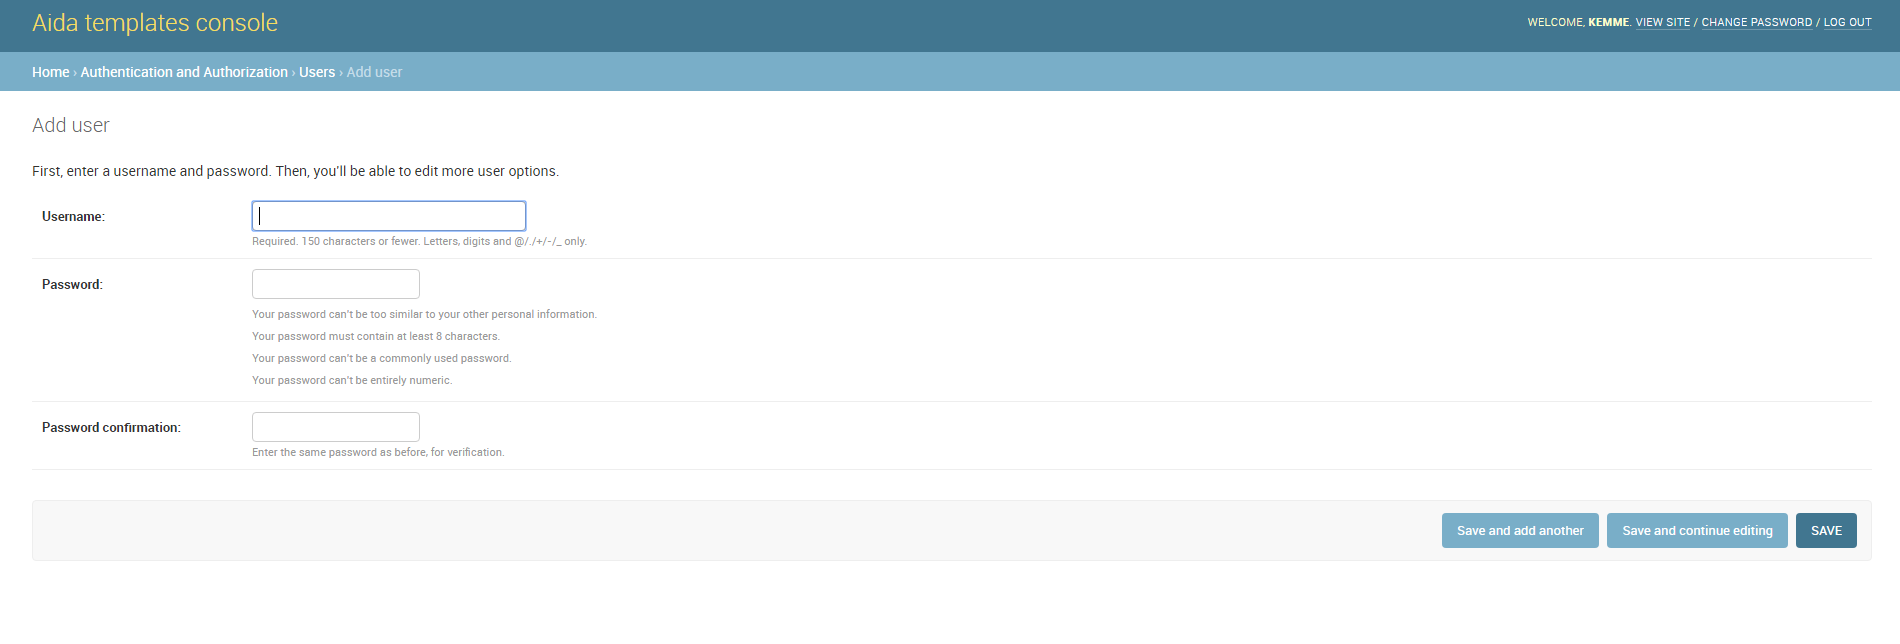
- Username: The username you want to assign to the user you are creating (unique)
- Password: The password for the user, must be complied following the indications regarding the requirements listed under this field
- Password confirmation: The same password entered previously
Manage an existing user
To manage an existing user whether it is a newly created user or a previously configured user, simply select the one you want to manage from the initial user management screen:
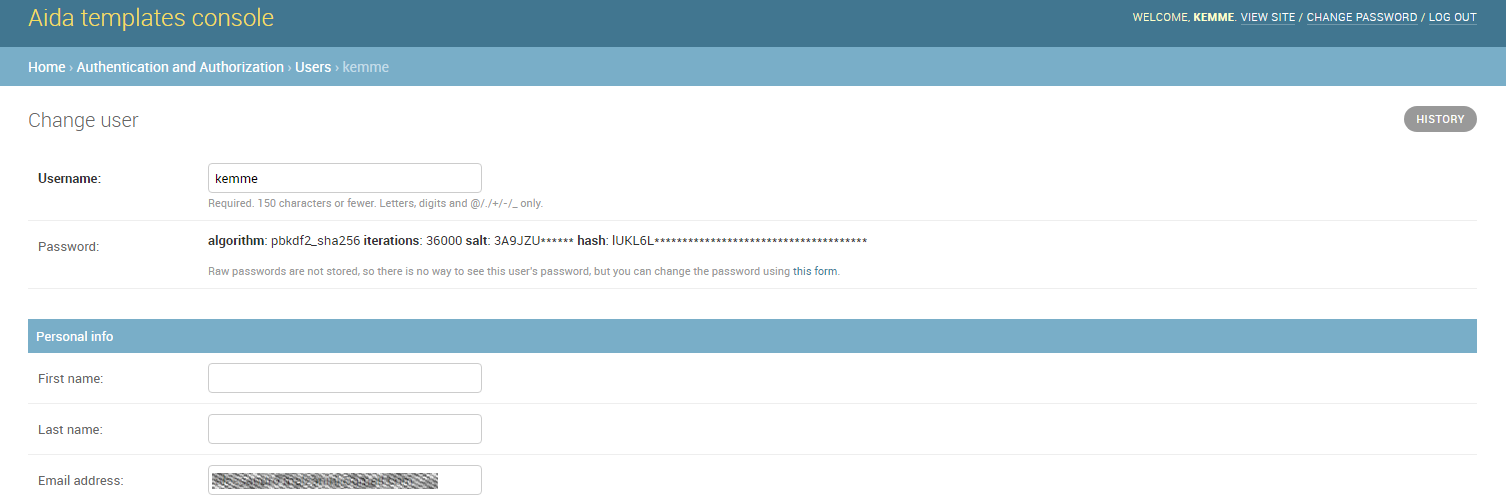
- Username: The selected User username
- Password: Raw passwords are not stored, so there is no way to see this user’s password
- Personal info
- First name: The first name of the user (optional)
- Last name: The last name for the user (optional)
- Email address: Email address for the user (used for password remember etc. etc.)

- Permissions
- Active: Designates whether this user should be treated as active. Unselect this instead of deleting accounts.
- Staff status: Designates whether the user can log into this admin site.
- Superuser status: Designates that this user has all permissions without explicitly assigning them.
- Groups: Groups to which the user is associated by inheriting the permissions set
- User Permissions: It is possible to set individual permissions for the specific user outside those set for the group.
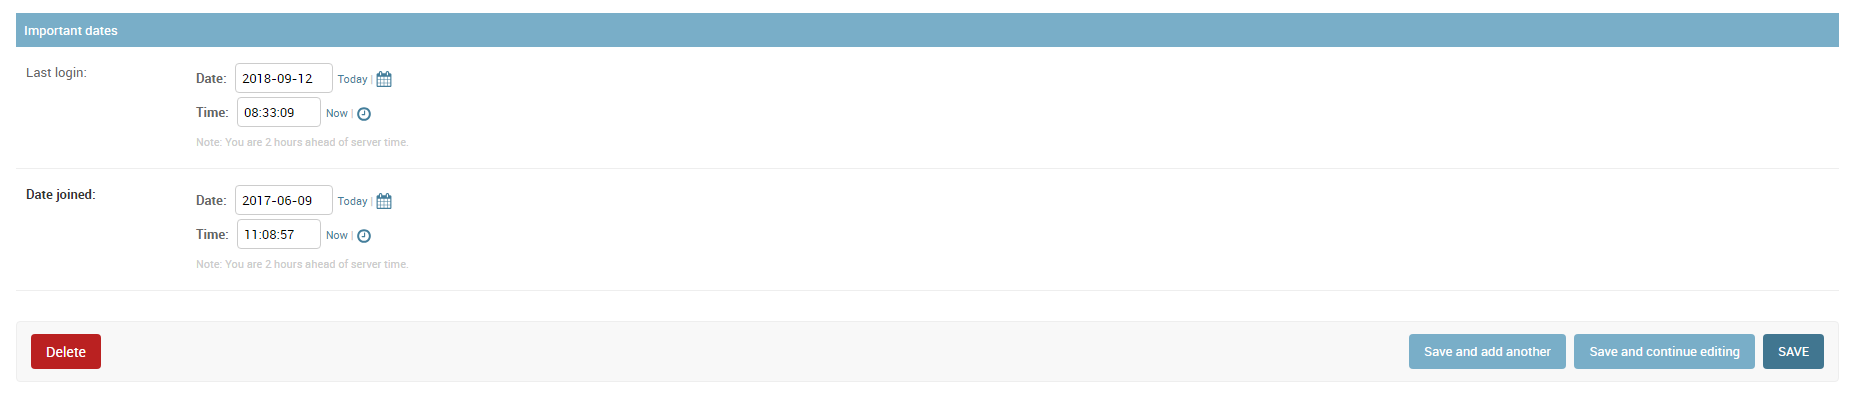
- Important dates
- Last login: Date and time of the last system login made by the selected user
- Date joined: Date and time when the user was created for the first time